For More Jewelry Making Tips Please Visit -
With the price of silver and gold rising with each
passing day, all of us are looking for ways to continue our work using less
expensive materials. This has led many to explore the wonderful world of
copper. Looking through a Rio Grande materials catalog recently I discovered
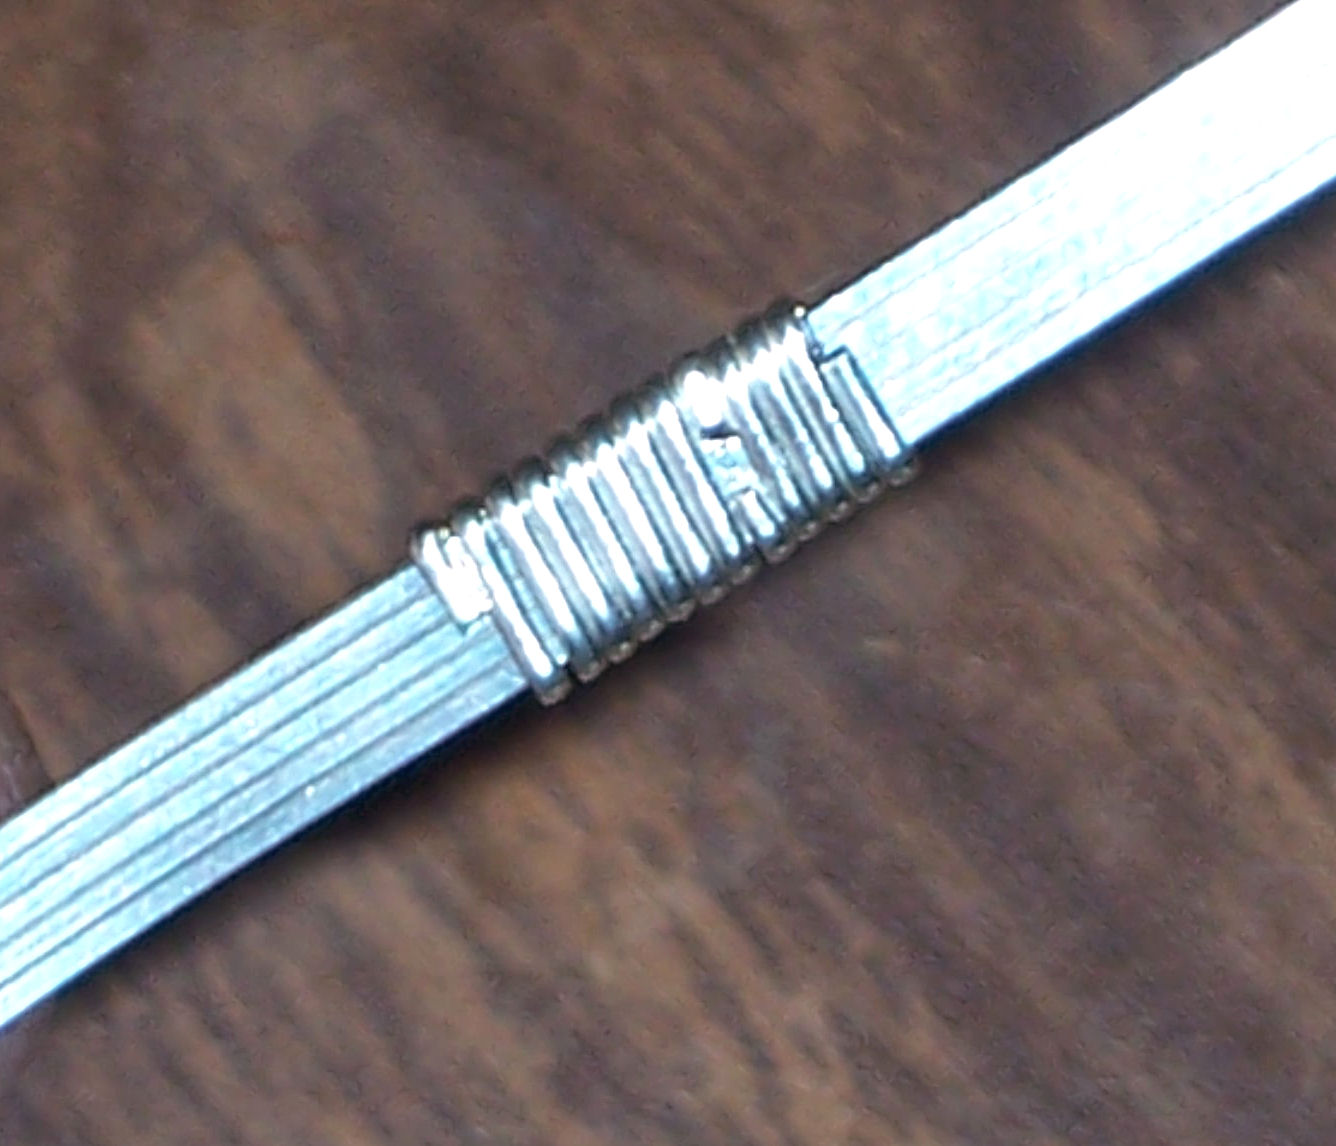
that they carry a nice selection of copper wire. One product that caught my eye
was 9.5x1.6mm copper strip. I thought this material would be perfect to make
pendants and earrings. Simply cut it with metal shears or a jeweler’s saw,
drill a hole and texture it - simple.
You could use almost any technique to texture this
pendant, but I thought that it would be a great way to show you an easy etching
technique. The process is so unbelievably simple it’ll amaze you.
Here are the tools you'll need -
Metal shears, tin snips, or a jewelers saw, raw hide mallet, bench block, flat hand file, steel wool, fine tip and regular tip permanent marker - or a rubber stamp of your choice and a jet black
StazOn ink pad, roll of wide packing tape, measuring cup, 2 small, shallow plastic containers, tweezers (non-copper), flex shaft, and a small drill bit to drill a bail hole.
Here are the materials you'll need -
1 ½ inch long piece of 9.5x1.6mm copper strip, hydrogen peroxide, muriatic acid, non-acetone fingernail polish remover, and baking soda
Overview
Before we jump into the process I thought it
would be a good idea to go over what we’ll be doing and why. Basically we’ll
mix a solution of hydrogen peroxide and muriatic acid. This acid solution will
‘eat away’ the unprotected portions of the copper creating a pattern on the metal.
We’ll protect the metal and define the pattern by drawing or stamping a design
on it using permanent ink to prohibit the process. Muriatic acid is very inexpensive and can be purchased
from most any home improvement store. It’s used to balance the pH level in
swimming pools and to clean concrete.
Safety First
Keep in mind that we are working with a mild acid.
This substance can and will burn you if you get it on your bare skin. To
prevent the acid from causing you any harm wear clothing that doesn’t expose
your skin. In addition wear rubber gloves and eye protection.
For More Jewelry Making Tips Please Visit -
Prepare the Metal
Begin by cutting a 1 ½ inch long piece of copper
strip using metal shears or a jewelers saw. Place the cut copper
strip on a bench block and hammer it flat with a raw hide mallet. With a flat
hand file, file any sharp or jagged edges from the copper strip.
Before the design can be added to the metal it has
to be cleaned. Clean the surface of the metal with dish soap and a scrubbing
pad. Be sure to rinse the metal thoroughly. Once clean, dry the metal completely.
To give the ink something to adhere to, rough up the surface a little with
steel wool.
There are several ways that you can add a design to
the surface of the metal. The easiest is to use a rubber stamp and permanent
ink pad. The best ink pad to use for this is made by StazOn. This
particular ink pad is formulated to use on almost any surface so it’s perfect
for this process. Load the rubber stamp
with ink by tapping on the ink pad a few times. Firmly press the stamp on the
metal and carefully pull it off the metal to prevent it from smearing.
If the stamp didn’t work how you wanted it to, remove the ink using non-acetone
fingernail polish remover and re-stamp.
To protect the side edges of the metal, cover them using a permanent marker.
Another method is to draw a design on the metal
using permanent markers. This method gives you the opportunity to
create any design that you would like. When using this technique keep in mind
that the black lines drawn on the metal are the high points of the etched
design.
Just a note about adding your design – remember
that this is going to be a pendant. After the etching process we will be
drilling a hole in it so it can be worn. You don’t want the hole to destroy the
design. So keep this in mind when you are laying everything out.
Once the design has been applied to the front of
the metal and the edges are covered with permanent ink, something has to be
added to the back to protect it. Pull off a piece of clear packing tape and
adhere it to the back of the copper strip. Rub the tape firmly to the
metal to be sure it’s adhering completely.
Prepare the Acid
The ratio for this mixture is 2 to 1 – two parts
hydrogen peroxide to one part muriatic acid. You only need enough of the
solution to cover the metal completely. For
the size of my container I’m using a half cup of hydrogen peroxide and on
quarter cup of muriatic acid. The fumes from this acid solution can
be hazardous so it’s best to do all of your etching in a well-ventilated area,
outside is best. Before mixing the acid
solution, put on all of your protective gear – safety first. Pour the hydrogen
peroxide in the container first then slowly pour in the acid. Using your metal
tweezers gently mix the solution a bit. Be careful that you don’t
splash the solution.
Fill the second container with enough water to
cover the metal. Add to the water two tablespoons of baking soda and thoroughly
mix. This solution will be used to neutralize the acid on the copper once the
etching is complete.
The Process
Grab the metal to be etched by a corner of the
tape backing using the metal tweezers. Place the metal in the solution with the
design facing up. The process can take anywhere between 15 to 30
minutes. About every 5 minutes visit
the etching container and gently shake it. Agitating the solution every few
minutes will help the process along. You’ll notice that the etching solution is
changing color. The once clear solution is now a vibrant blue-green color. This is due to the chemical reaction taking place between the
solution and the metal.

After about 15 minutes, remove the metal from the
etching solution by grabbing it with tweezers. Place the metal into
the water/baking soda mixture. Remove it from the water solution and rinse it
with clean water. Check the surface of the metal to see if it has been
sufficiently etched. If it doesn’t meet to your satisfaction place it back into
the etching solution for an additional 15 minutes. Remove the metal, rinse, and
recheck. Once it has been properly etched you can move on to the next step.
The Disposal
Once you are finished etching you need to properly
dispose of the acid solution. This is easily done by adding small amounts of
backing soda to the acid solution. Start by carefully pouring a small amount of
baking soda into the acid – about a tablespoon will do. Notice the reaction,
the mixture will begin to foam. When the foaming subsides add a
little more baking soda. Continue this procedure until the acid no longer
foams. It is now safe to pour the now neutralized etching solution down the
drain. Be sure to run plenty of water down the drain to wash it away.
Finishing Touches
You’ll notice that there is still a layer of
permanent marker on the front and edges of the pendant. Remove it using a
little non-acetone fingernail polish remover.
Now that the pendant is clean the only thing left
to do is drill a hole in it so it can be worn.
Mark the pendant at the top center with a permanent marker.
Using a small drill bit inserted into a flex shaft, drill a pilot hole. Change to a larger drill bit and drill the final hole.
Check the bail hole for rough edges. Clean these up using a needle file and
sandpaper.
A beautiful pair of matching earrings can easily
be made by following the same steps but on a slightly smaller scale. This
process not only works great with copper, it’s also great for brass and nickel
silver – so go ahead and experiment with these economical metals too.
I really hope you enjoyed this. Etching metal is a fun way to add a bit of flair to your work. Don't be afraid of the process, it's far easier than you think. So give it a try...you'll love it!
See ya next week!
For More Jewelry Making tips Please Visit -